This article applies as of PRTG 22
I would like to add custom text labels to a map view, but I can only find predefined images. How can I create a map object that shows a custom text box?
Adding a textbox to a map
You can add a simple textbox to your map using a Custom HTML element. With this method, you are able to style your text the way you want.
Add plain text
- Open an existing map or create a new one.
- Open the Map Designer.
- In section Properties on the right side of the designer window, look for Custom HTML at the bottom of the list and expand it.

- Choose Custom HTML Element and drag and drop it on your map. Click the added element so it is highlighted.
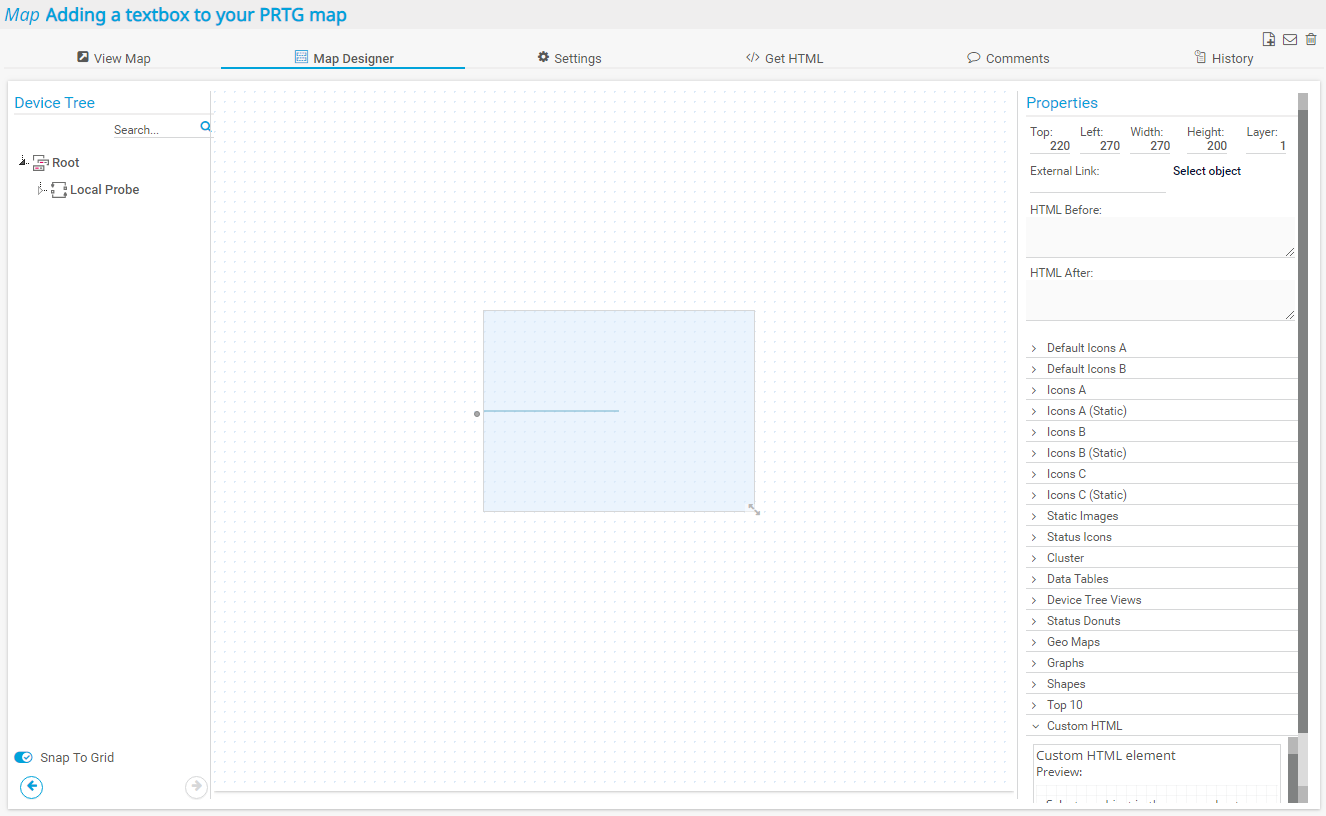
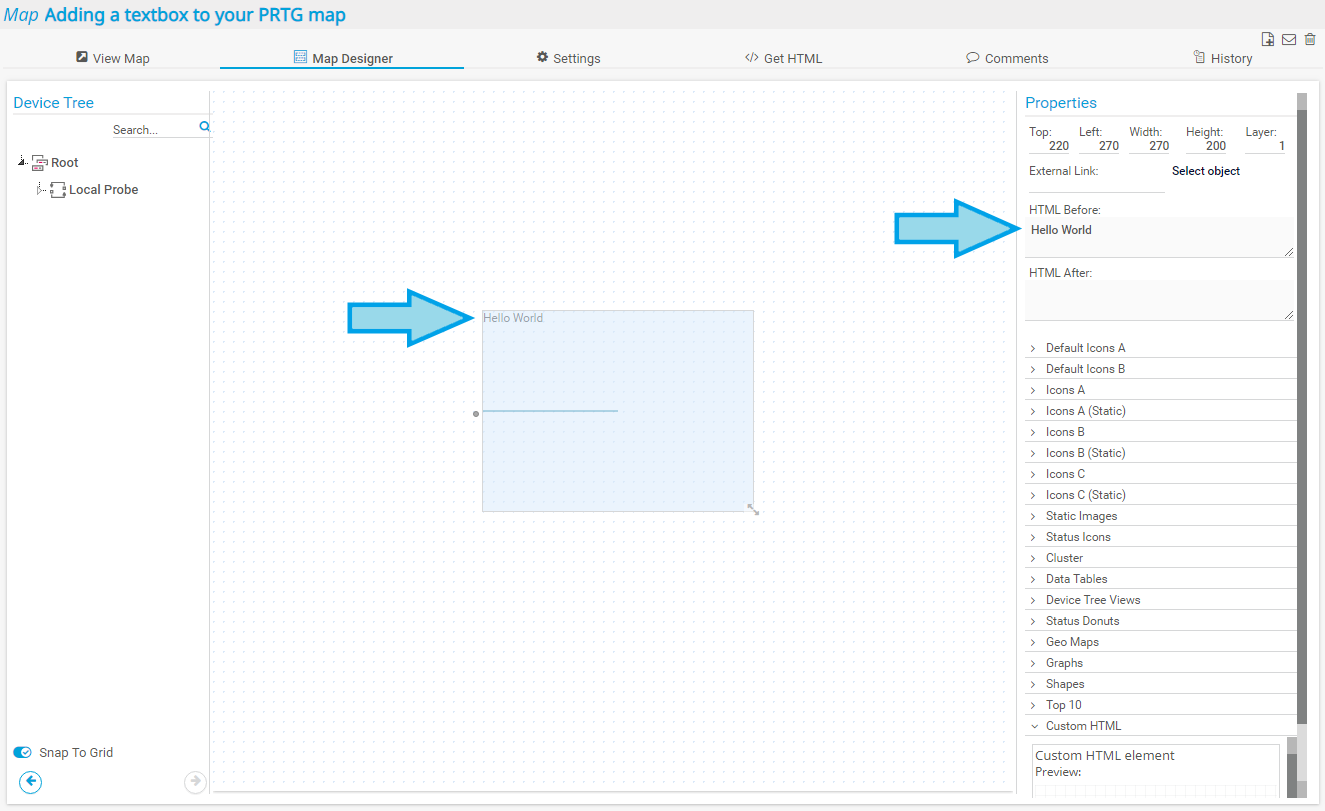
- You will now see available options for this element under Properties.
- Enter your text in HTML format into the HTML Before field.
For example, let us imagine that you want to add a simple text like "Hello World" to your map. Your HTML in the HTML Before field will look like this: Hello World
Now let us get more advanced and edit the text, add formats, and add some color to the text, for example.
Add text with style
You can use any HTML to show text in your desired style, for example, bold format, font size, and color.
Font size
To change the font size to 14px, for example, add <font size="14"> to the HTML Before field. Your HTML might look like this:
<font size="14">Hello World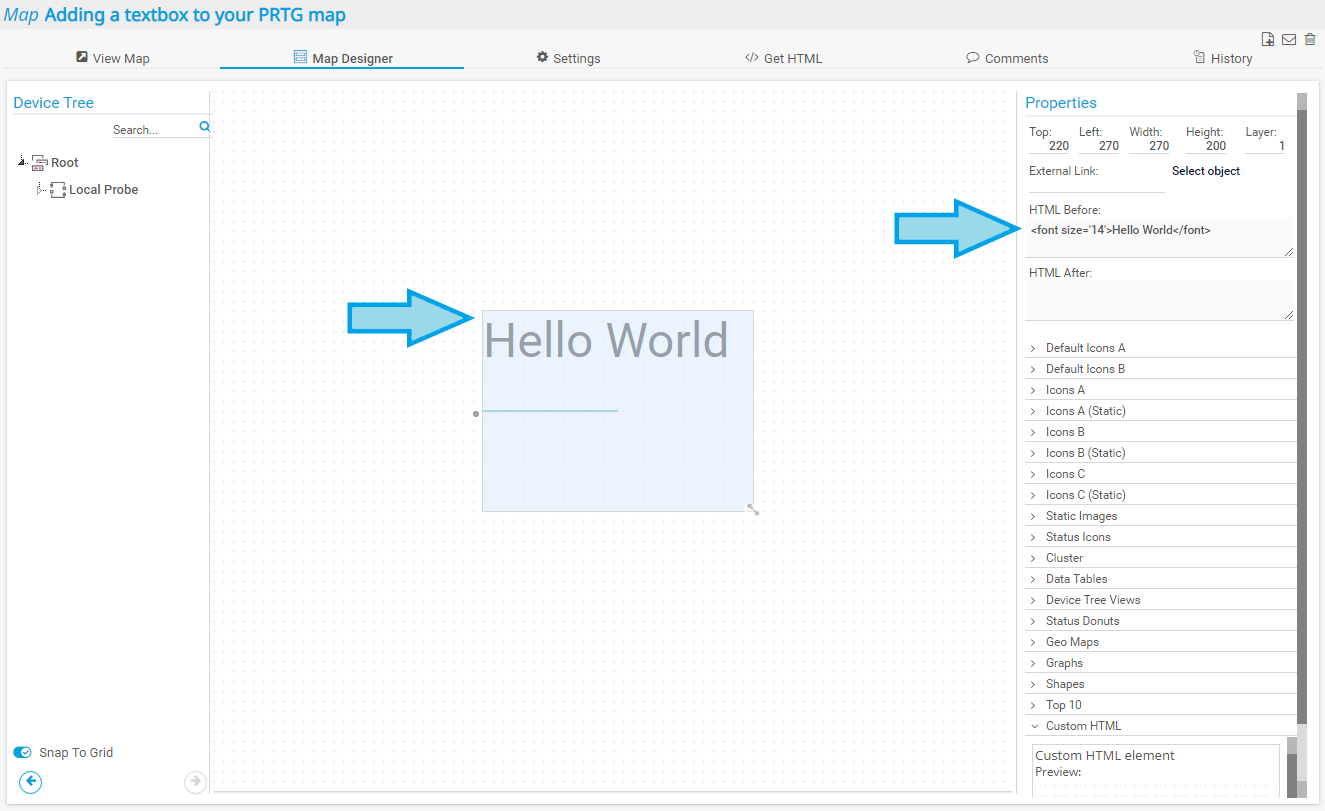
But perhaps it would look better in the Courier New font. So, let us change your font.
Font style
To change the font style to Courier New, for example, add <face="Courier New"> to the HTML Before field. Your HTML might look like this:
<font size='14' face='Courier New'>Hello World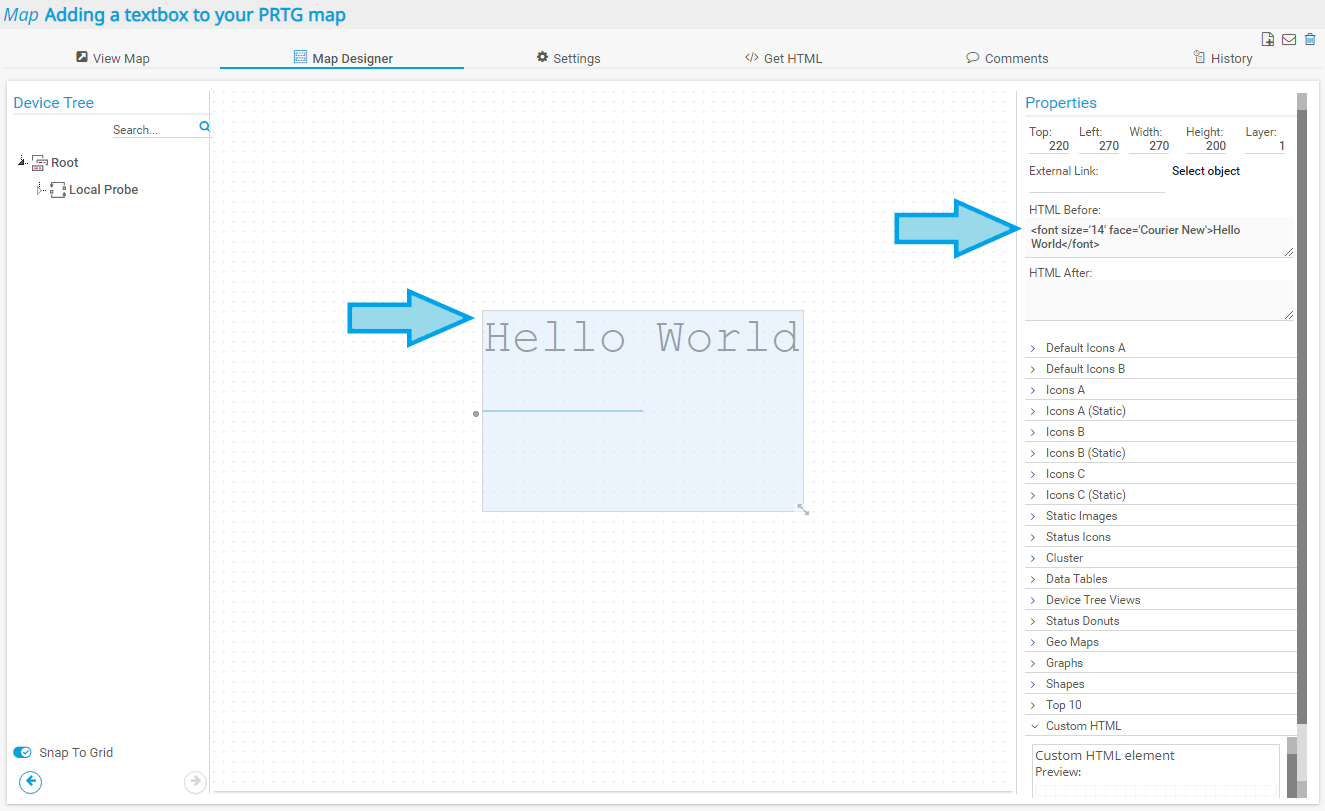
But perhaps it would look better in bold format. So, let us change the text to bold.
Bold text
To show text in bold letters, use the tag <b>. Don't forget to enter a closing tag, for bold: </b>. Your HTML in the HTML Before field will look like this:
<font size='14' face='Courier New'><b>Hello World</b>
But perhaps it would look better with a line break. So, let us add a line break.
Line break
You can add line breaks to your textboxes with the HTML tag <br>. To add the line break between "Hello" and "World", insert the tag after "Hello":
<font size="14" color="blue"><b>Hello<br>World</b>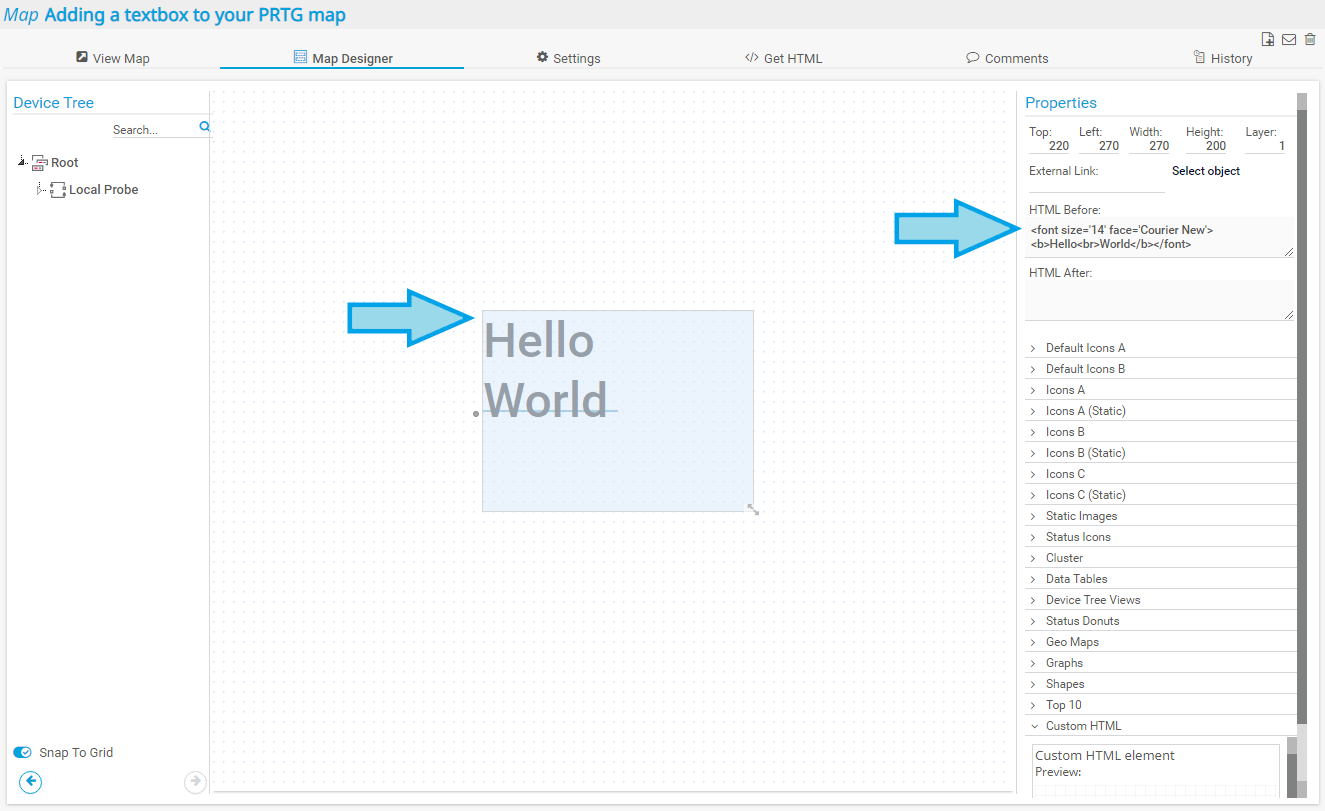
Text color
To change the text color, we add another HTML tag to the HTML Before field. In this example, we go on with blue color and use the browser default blue. So, add color="blue" to your HTML code:
<font size="14" color="blue"><b>Hello World</b>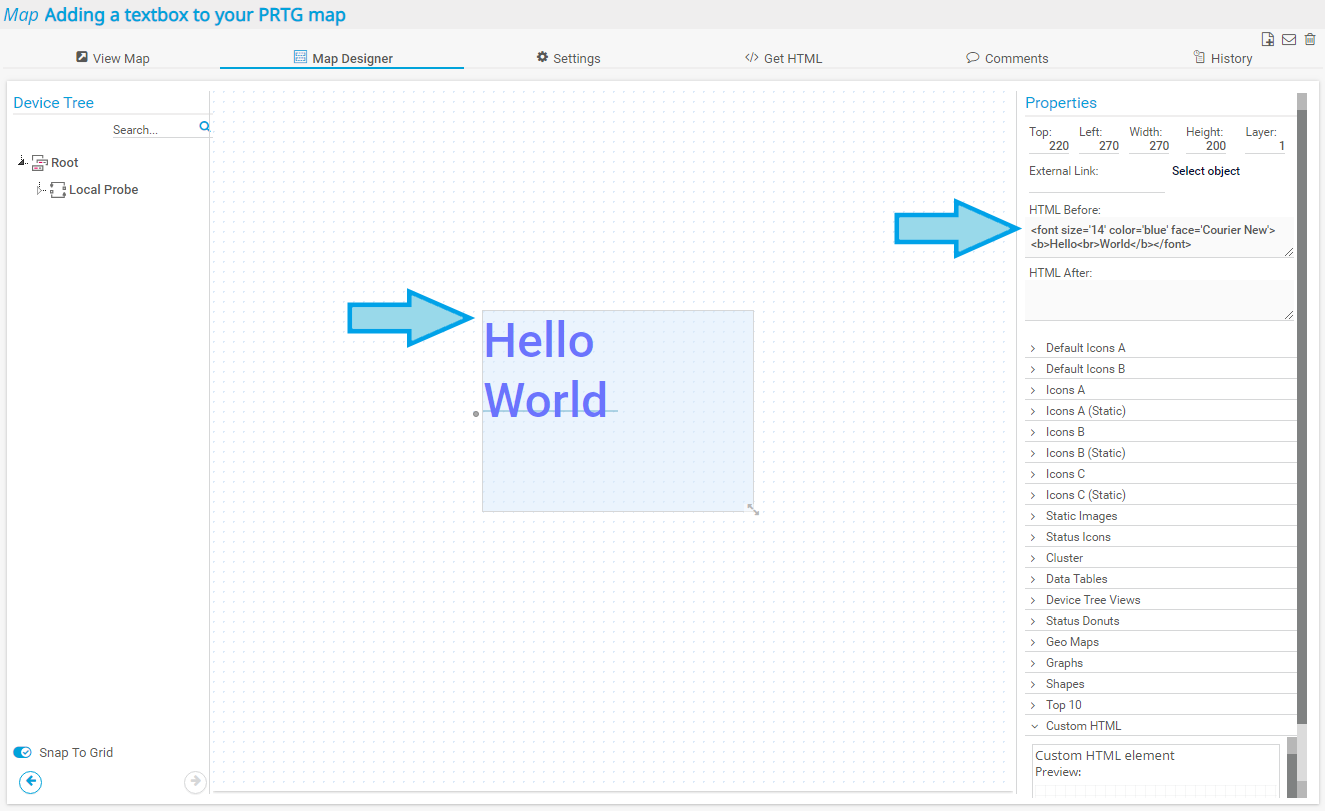
Background color
To add a background color, we add another HTML tag to the HTML Before field. First, we will change the text color to white and the background color to blue. Add style='color: white; background-color: blue' '='' to your HTML code:
<font size='14' style='color: white; background-color: blue' '=''><b>Hello<br>World</b>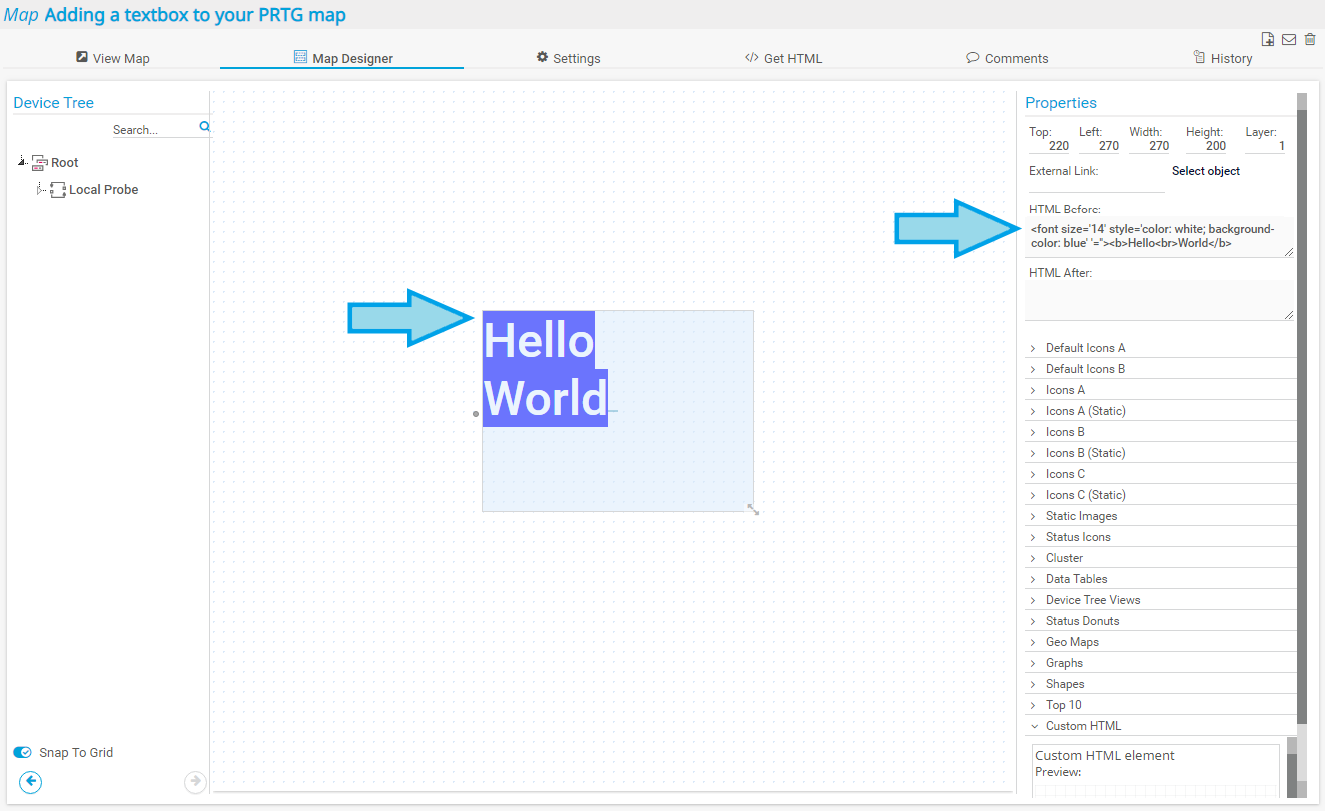
Add Custom HTML objects to a map
- Add an image with border
- Add text in double quotes
- Draw a rectangle
1. Add an image with border
To add an image with border use the following HTML code:
<img src='<enter_image_file_as_jpg>" alt="anytext"width="50" height="60" style="border: 5px solid red">
For example, an image after the application of borders looks like this:

2. Add text in double quotes
To add a text in double quotes you can use the following HTML code:
<font size="5">"Hello World"
You can also type a single quote two times without a space in between. The text should appear with "...."
3. Draw a rectangle
To draw a rectangle you can use the following HTML codes:<iframe src='' style='border:3px solid Yellow;' name='myiFrame' scrolling='no' frameborder='10' height='100px' width='340px' allowfullscreen=''></iframe><svg width='200' height='100'> <rect width='200' height='100' style='fill:transparent;Stroke:Yellow;Stroke-Width:10;'></rect></svg>
Conclusion
Because PRTG uses standard HTML code to insert and edit text in maps, you have many options to adjust the text to your needs and to the design of your map. So, start creating your individual dashboards with PRTG.
Disclaimer:
The information in the Paessler Knowledge Base comes without warranty of any kind. Use at your own risk. Before applying any instructions please exercise proper system administrator housekeeping. You must make sure that a proper backup of all your data is available.
