
This article applies as of PRTG 26.4.126
Paessler acquired UVnetworks to add topology mapping, asset inventory, and configuration management to PRTG. For more information, see the press release.
As of PRTG 26.4.126, PRTG UVexplorer is installed with PRTG automatically and the PRTG web interface shows the UVX Map and UVX Reports tabs in your device tree in root, local probe, and devices. On the level of an individual device, PRTG shows the UVX Details tab. These tabs stay empty until you run a PRTG UVexplorer discovery, set up the connection between PRTG UVexplorer and PRTG, and export the discovery results to PRTG.
Note that the integration between PRTG and PRTG UVexplorer is a work in progress.
Limitations
- PRTG UVexplorer is not available for users of:
- PRTG Hosted Monitor. The integration is planned. Check the PRTG release notes for future news.
- PRTG with a perpetual license
- The freeware version of PRTG
- If you restrict a PRTG user to specific probes or groups, PRTG enforces this restriction for standard PRTG device details. PRTG UVexplorer does not yet enforce the same restriction. A user who can access the UVX Map or UVX Reports tab can see topology and report data for all objects under the respective group, even objects outside the probes or groups that the user is otherwise allowed to see. If your PRTG installation relies on fine-grained user permissions, consider this limitation before you set up the connection between PRTG and PRTG UVexplorer.
Set up a discovery in PRTG UVexplorer
Prerequisites:
- Access to the PRTG core server system
Step-by-step
- On the PRTG core server system, open the PRTG UVexplorer application.
- The Network Discovery Wizard starts automatically. Click Next.
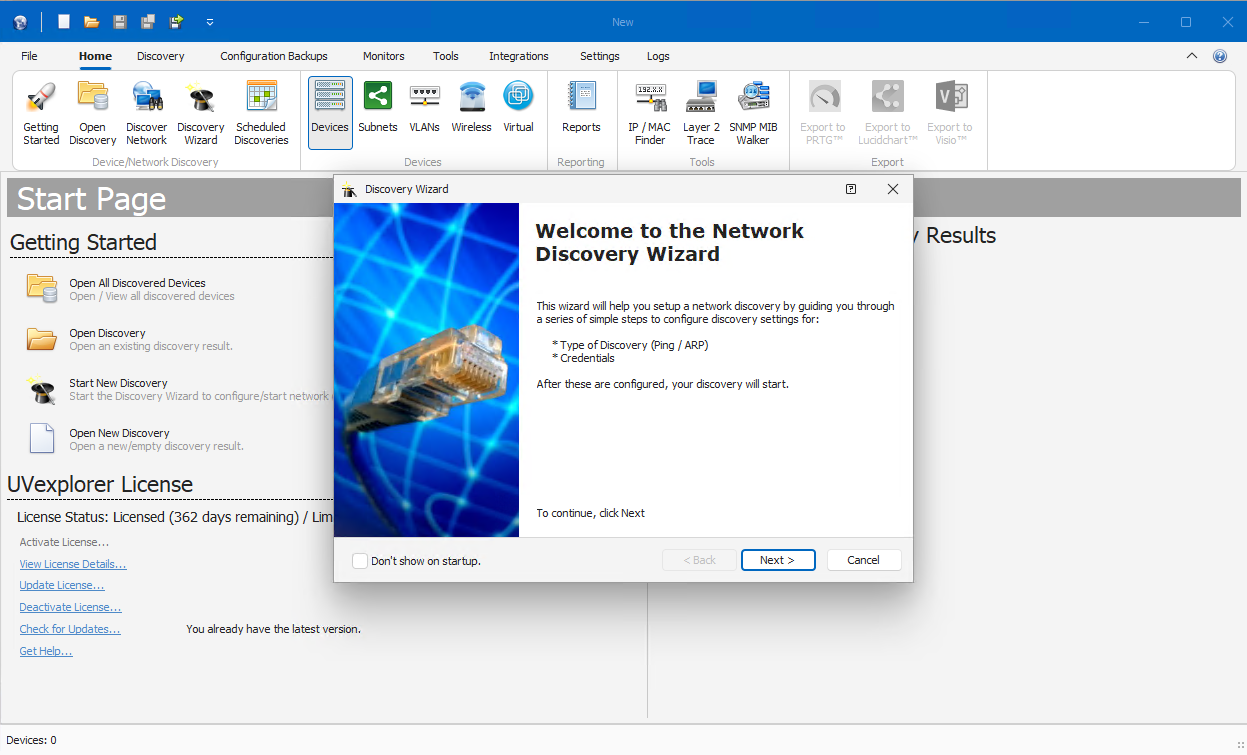 Note: If the wizard does not open automatically, click Discover Network in the navigation menu.
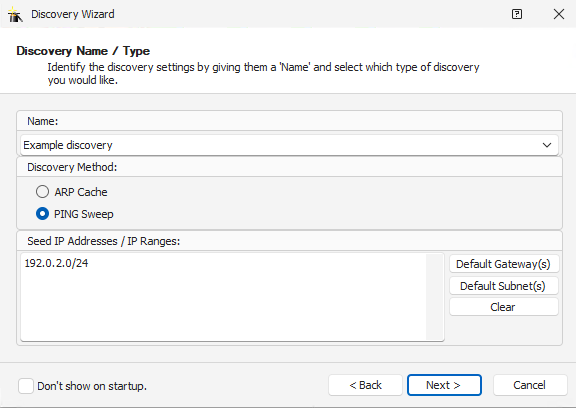
- Enter the discovery name, select the discovery method, and add seed IP addresses or ranges. PRTG UVexplorer uses your local subnet and gateway as the default. Click Next. For details about the discovery settings, see the PRTG UVexplorer Manual: Discovery Settings.
- Select credentials and protocols to scan with. SNMP v1 is the default. Add your own credential set for SNMP v2c, SSH, and other protocols as needed. Click Next.
For more information about credentials and protocol settings, see the PRTG UVexplorer Manual: Discovery Settings and Managing Device Credentials.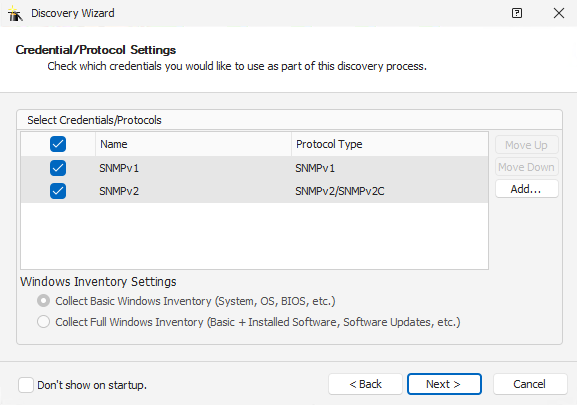
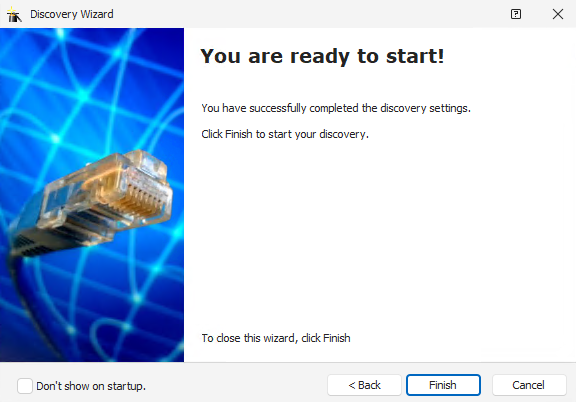
- Click Finish to save the settings. The discovery then starts automatically and saves the results once it completes. This can take some time, depending on your network setup.
Export the discovery results to PRTG
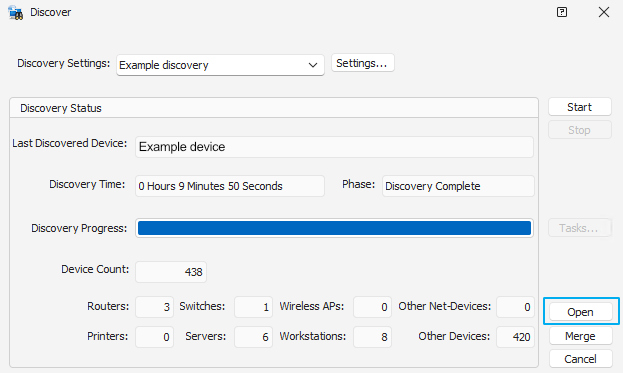
- After PRTG UVexplorer finishes the discovery, the discovery screen displays Discovery Complete in the Phase field. Click Open to access the discovery results.
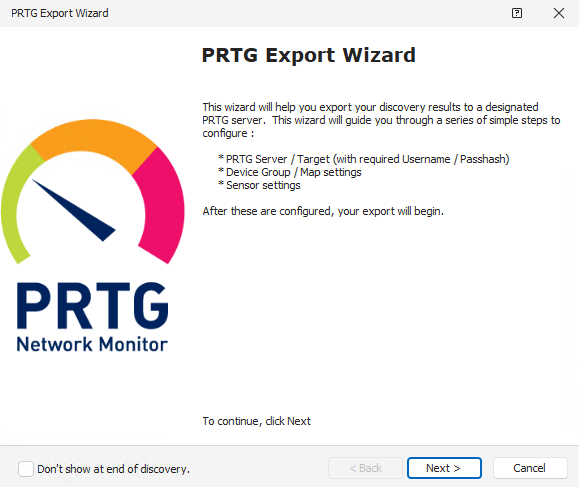
- The PRTG Export Wizard starts automatically. Click Next.
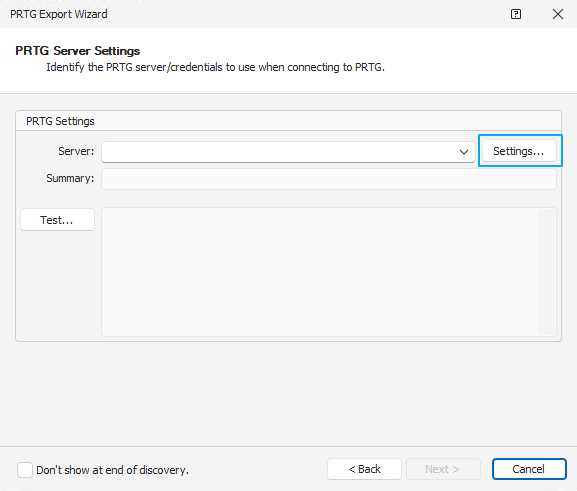
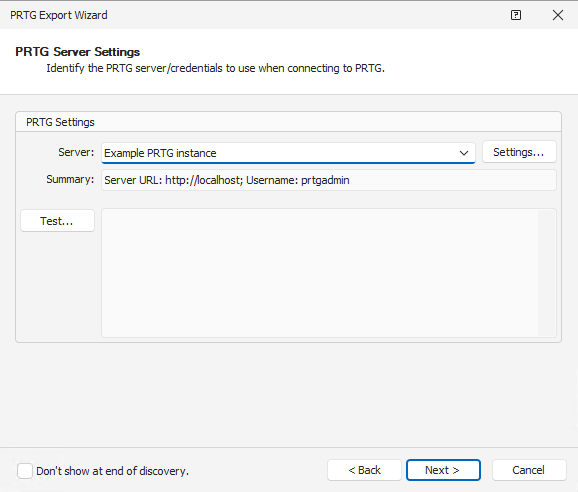
- On the PRTG Server Settings screen, click Settings to configure the connection to your PRTG installation.
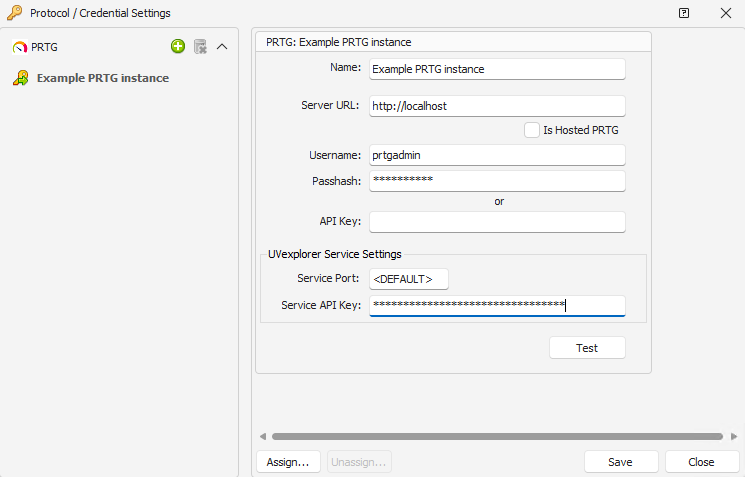
- On the Protocol / Credential Settings screen, click the + icon.

- Enter the name of your PRTG installation. In the Server URL, enter the localhost address. The credentials are already pre-filled for you. If not, enter your PRTG Login Name and your Passhash. You can find them in the PRTG web interface in Setup | Account Settings | My account. Click Save.
- In Server, select the PRTG installation that you have configured the connection settings for in the previous step. Click Next.
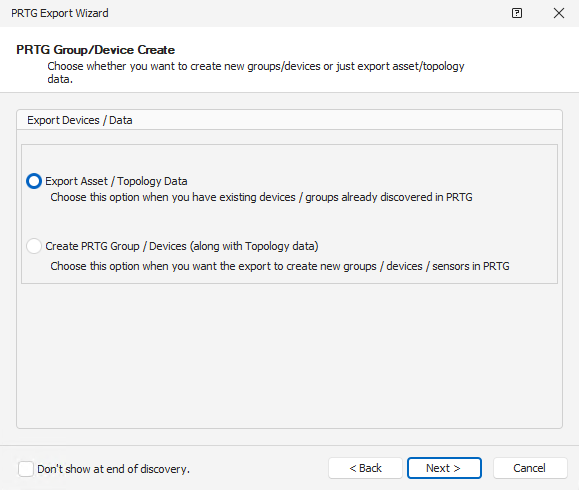
- On the PRTG Group/Device Create screen, select Export Asset / Topology Data if you want to populate the UVX Map, UVX Reports, and UVX Details tabs for devices that already exist in your PRTG device tree. Select Create PRTG Group / Devices (along with Topology data) if you want PRTG UVexplorer to create new groups, devices, and sensors in your PRTG device tree. Click Next.
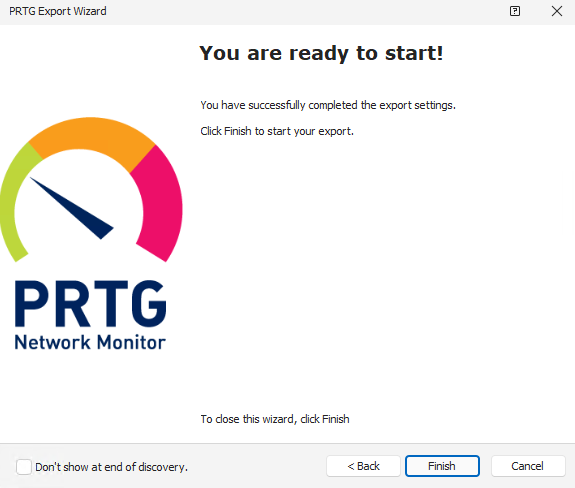
- Click Finish.
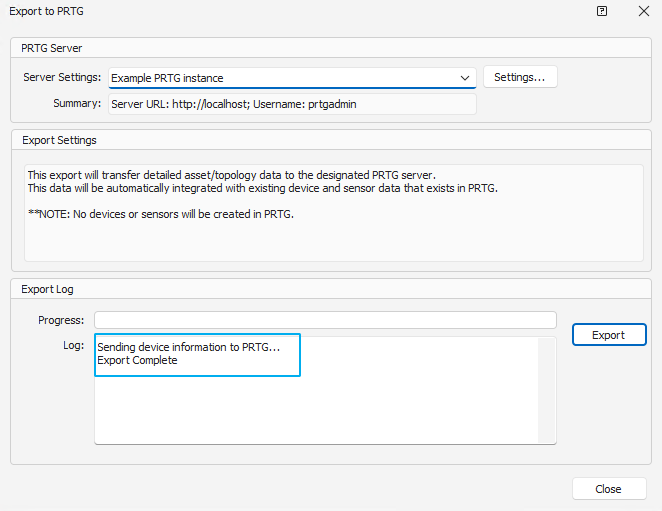
- When the export finishes, PRTG UVXexplorer displays Export Complete in the log. Close the wizard. It might take a few minutes until the data appears in PRTG.
- Go to the device tree in PRTG web interface, open the root or the local probe or a device group, and click the UVX Map or UVX Reports tab.
For more details about the PRTG UVexplorer application, see the PRTG UVexplorer Manual.
Frequently asked questions
Why do I have a new Paessler UV API Admin user account in my PRTG?
PRTG creates this user account automatically so that PRTG UVexplorer can use it to export data to PRTG. Do not delete or modify this account.
Does PRTG UVexplorer install automatically if my PRTG core server has no internet access?
No.If you run PRTG in an offline or air-gapped environment and you want to use PRTG UVexplorer, please wait for the future versions.
PRTG downloads PRTG UVexplorer from the Paessler update service (services.paessler.com). If your PRTG core server cannot reach this service, or if you turned off automatic software updates, PRTG does not install PRTG UVexplorer.
If your PRTG core server connects to the internet through a proxy, PRTG uses the proxy settings that you configured in PRTG. If you use strict firewall rules, make sure that your PRTG core server can reach https://services.paessler.com/autoupdate/getupdateinfo.
What about my remote probes?
PRTG UVexplorer runs on your PRTG core server and does not use your remote probes. PRTG UVexplorer discovers the devices that it can reach directly from the PRTG core server, for example via SNMP, SSH, or WMI.
What if PRTG UVexplorer is already installed on my PRTG core server?
If you already run a standalone PRTG UVexplorer installation on the same sysem as your PRTG core server, PRTG detects this installation and does not change it. PRTG UVexplorer keeps its current configuration, and you can continue to use it as before.
If you uninstall your existing PRTG UVexplorer installation before you upgrade to PRTG 26.4.126, PRTG installs the latest version of PRTG UVexplorer. This version prepares your setup for closer integration between PRTG and PRTG UVexplorer in the future.
