This article applies as of PRTG 26
Monitoring the Sigfox v2 API with the REST Custom sensor
Important Notice:
This article was adapted to fit the Sigfox v2 API. We provide REST configuration files for the Sigfox v2 API as of PRTG 20.1.55. If you used REST Custom sensors for monitoring the Sigfox API in a previous version of PRTG, please create new sensors with the new REST configuration files respectively.
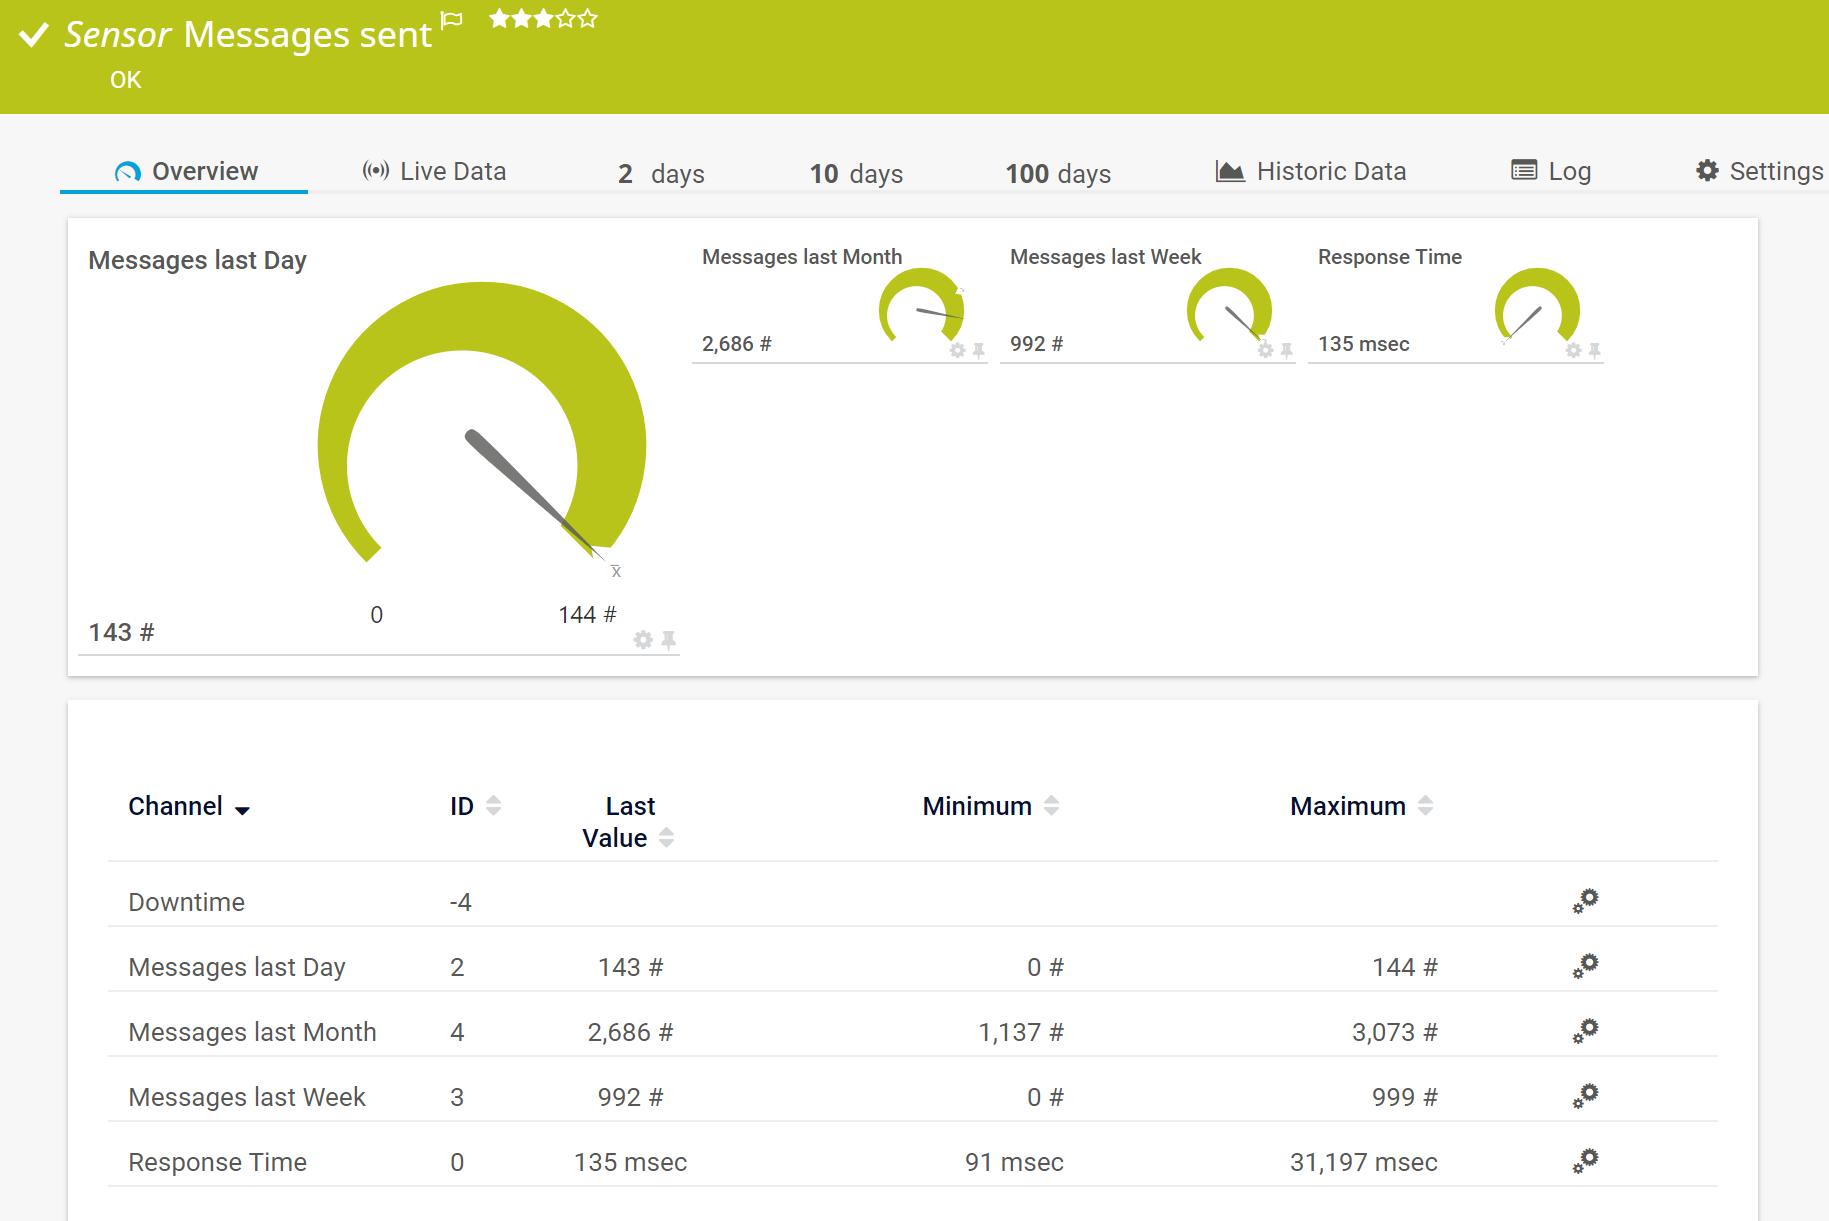
The Sigfox v2 API uses the HTTP protocol, which follows the REST principles. Using the REST Custom sensor, you can monitor the Sigfox v2 API. This way you can monitor information like the number of messages received from your Sigfox-connected device, for example.
Create a new API access
First, create or get your API access credentials from the Sigfox backend. You will need these for authentication when setting up your REST Custom sensor in PRTG.
Note: The Sigfox API documentation is tailored depending on user rights. To create a new API Access, see the API documentation in the Sigfox Portal.
Map API requests in a REST configuration file
Because the REST Custom sensor maps JSON/XML results to sensor values, the mapping rule has to be available as a REST configuration file in JSON template (*.template) format.
PRTG provides three standard templates for monitoring the Sigfox v2 API:
- sigfox.device.template
- sigfox.device.message.metric.template
- sigfox.keepalive.template
The sigfox.device.message.metric.template, for example, looks like this:
{
	"prtg": {
             "description": {
                    "device": "https://api.sigfox.com",
                    "query": "/v2/devices/{DEVICE_ID}/messages/metric",
                    "comment": "Replace {DEVICE_ID} device ID. Get a list of all device IDs by calling https://api.sigfox.com/v2/devices"
              },
		"result": [{
				"channel": "Messages Last Day",
				"CustomUnit": "#",
				"value": $.lastDay
			}, {
				"channel": "Messages Last Week",
				"CustomUnit": "#",
				"value": $.lastWeek
			}, {
				"channel": "Messages Last Month",
				"CustomUnit": "#",
				"value": $.lastMonth
			}
		]
	}
}
You can either use one of these standard templates, or you can create a custom template:
- In the \Custom Sensors\rest subdirectory of the probe system's PRTG program directory, create a new REST configuration file. Make sure that the template is written in valid JSON according to the PRTG API definition. For details, see PRTG Manual: Custom Sensors.
- Give the template a descriptive name like sigfox.device.custom.template. You will need this when setting up the sensor.
Create a REST Custom sensor
The next step to monitoring the Sigfox v2 API is to add a REST Custom sensor to your PRTG installation.
- Create a new device or use an existing device in PRTG and enter api.sigfox.com as IPv4 Address/DNS Name.
- Add a REST Custom sensor to the device.
- Configure the sensor as follows. If a setting is not mentioned, you can change it to your desired configuration.
- Click Create to create the sensor.
The sensor now displays the information from the Sigfox v2 API.